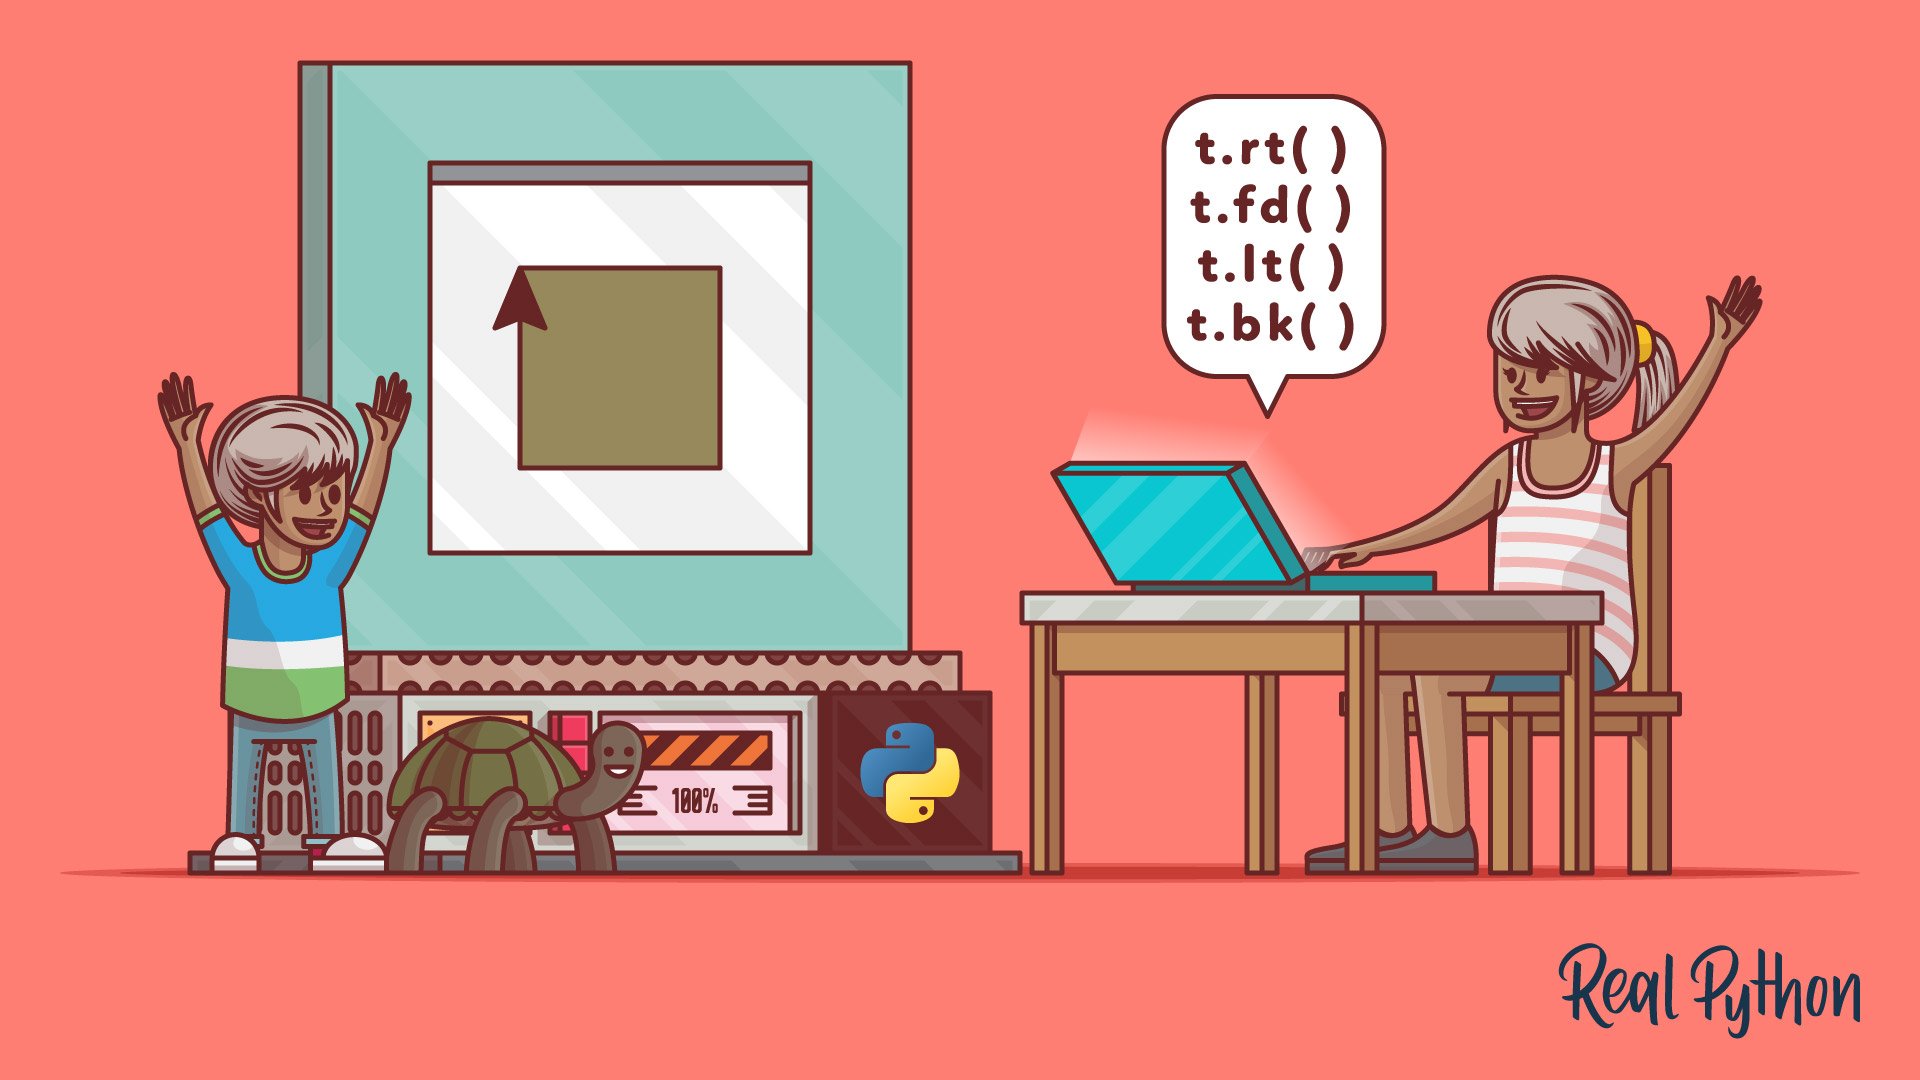
When I was a kid, I used to learn Logo, a programming language that involved a turtle that you could move around the screen with just a few commands. I remember feeling like a computer genius as I controlled this little object on my screen, and this was what got me interested in programming in the first place. The Python turtle library comes with a similar interactive feature that gives new programmers a taste of what it’s like to work with Python.
In this tutorial, you will:
- Understand what the Python
turtlelibrary is - Learn how to set
turtleup on your computer - Program with the Python
turtlelibrary - Grasp some important Python concepts and
turtlecommands - Develop a short but entertaining game using what you’ve learned
If you’re a beginner to Python, then this tutorial will help you as you take your first steps into the world of programming with the help of the Python turtle library!
Free Bonus: Click here to get a Python Cheat Sheet and learn the basics of Python 3, like working with data types, dictionaries, lists, and Python functions.
Getting to Know the Python turtle Library
turtle is a pre-installed Python library that enables users to create pictures and shapes by providing them with a virtual canvas. The onscreen pen that you use for drawing is called the turtle and this is what gives the library its name. In short, the Python turtle library helps new programmers get a feel for what programming with Python is like in a fun and interactive way.
turtle is mainly used to introduce children to the world of computers. It’s a straightforward yet versatile way to understand the concepts of Python. This makes it a great avenue for kids to take their first steps in Python programming. That being said, the Python turtle library is not restricted to little ones alone! It’s also proved extremely useful for adults who are trying their hands at Python, which makes it great for Python beginners.
With the Python turtle library, you can draw and create various types of shapes and images. Here’s a sample of the kinds of drawings you can make with turtle:

Cool, right? This is just one of many different drawings you can make using the Python turtle library. Most developers use turtle to draw shapes, create designs, and make images. Others use turtle to create mini-games and animations, just like the one you saw above.
Getting Started With turtle
Before you continue, there are two important things that you’ll need to do to make the most of this tutorial:
-
Python Environment: Make sure that you’re familiar with your programming environment. You can use applications like IDLE or Jupyter Notebook to program with
turtle. However, if you’re not comfortable with them, then you can program with the REPL, which you’ll use in this tutorial. -
Python Version: Ensure that you have version 3 of Python on your computer. If not, then you can download it from the Python website. For help setting things up, check out Python 3 Installation & Setup Guide.
The good thing about turtle is that it’s a built-in library, so you don’t need to install any new packages. All you need to do is import the library into your Python environment, which in this case would be the REPL. Once you open your REPL application, you can run Python 3 on it by typing the following line of code:
>>> python3
This calls Python 3 into your REPL application and opens up the environment for you.
Before you begin your Python programming, you need to understand what a library is. In the non-computer world, a library is a place where different types of books are stored. You can access these books at any time, take whatever information you need from them, and return them to the same place.
In the computer world, a library works similarly. By definition, a library is a set of important functions and methods that you can access to make your programming easier. The Python turtle library contains all the methods and functions that you’ll need to create your images. To access a Python library, you need to import it into your Python environment, like this:
>>> import turtle
Now that you have turtle in your Python environment, you can begin programming with it. turtle is a graphical library, which means you’ll need to create a separate window (called the screen) to carry out each drawing command. You can create this screen by initializing a variable for it.
In Python, you use variables to store information that you’ll use later on in your program. You initialize a variable when you assign a starting value to it. Since the value of the variable isn’t constant, it can change several times during the execution of your program.
Now, to open the turtle screen, you initialize a variable for it in the following way:
>>> s = turtle.getscreen()
You should see a separate window open up:

This window is called the screen. It’s where you can view the output of your code. The little black triangular shape in the middle of the screen is called the turtle.
Note: Keep in mind that when you name a variable, you need to pick a name that can be easily understood by anyone who’s looking at your program. However, you must also choose a name that’s convenient for you to use, especially because you’ll be calling it very often throughout your program!
For example, choosing a name like my_turtle_screen_name would be tedious to keep typing, while a name like Joe or a would appear to be very random. Using a single alphabet character, like s in this case, would be much more suitable. That’s because it’s short and sweet, and it’s clear to remember that the letter s refers to the screen.
Next, you initialize the variable t, which you’ll then use throughout the program to refer to the turtle:
>>> t = turtle.Turtle()
Just like for the screen, you can also give this variable another name like a or Jane or even my_turtle, but in this case, you’ll stick with t.
You now have your screen and your turtle. The screen acts as a canvas, while the turtle acts like a pen. You can program the turtle to move around the screen. The turtle has certain changeable characteristics, like size, color, and speed. It always points in a specific direction, and will move in that direction unless you tell it otherwise:
- When it’s up, it means that no line will be drawn when it moves.
- When it’s down, it means that a line will be drawn when it moves.
In the next section, you’ll explore the different ways of programming with the Python turtle library.
Programming With turtle
The first thing you’ll learn when it comes to programming with the Python turtle library is how to make the turtle move in the direction you want it to go. Next, you’ll learn how to customize your turtle and its environment. Finally, you’ll learn a couple of extra commands with which you can perform some special tasks.
Moving the Turtle
There are four directions that a turtle can move in:
- Forward
- Backward
- Left
- Right
The turtle moves .forward() or .backward() in the direction that it’s facing. You can change this direction by turning it .left() or .right() by a certain degree. You can try each of these commands like so:
>>> t.right(90)
>>> t.forward(100)
>>> t.left(90)
>>> t.backward(100)
When you run these commands, the turtle will turn right by ninety degrees, go forward by a hundred units, turn left by ninety degrees, and move backward by a hundred units. You can see how this looks in the image below:

You can use the shortened versions of these commands as well:
t.rt()instead oft.right()t.fd()instead oft.forward()t.lt()instead oft.left()t.bk()instead oft.backward()
You can also draw a line from your current position to any other arbitrary position on the screen. This is done with the help of coordinates:

The screen is divided into four quadrants. The point where the turtle is initially positioned at the beginning of your program is (0,0). This is called Home. To move the turtle to any other area on the screen, you use .goto() and enter the coordinates like this:
>>> t.goto(100,100)
Your output will look like this:

You’ve drawn a line from your current position to the point (100,100) on the screen.
To bring the turtle back to its home position, you type the following:
>>> t.home()
This is like a shortcut command that sends the turtle back to the point (0,0). It’s quicker than typing t.goto(0,0).
Drawing a Shape
Now that you know the movements of the turtle, you can move on to making actual shapes. You can start by drawing polygons since they all consist of straight lines connected at certain angles. Here’s an example that you can try:
>>> t.fd(100)
>>> t.rt(90)
>>> t.fd(100)
>>> t.rt(90)
>>> t.fd(100)
>>> t.rt(90)
>>> t.fd(100)
Your output will look like this:

Well done! You’ve just drawn a square. In this way, the turtle can be programmed to create different shapes and images.
Now, try drawing a rectangle, using this code as a template. Remember, in a rectangle, all four sides are not equal. You’ll need to change the code accordingly. Once you do that, you can even try creating other polygons by increasing the number of sides and changing the angles.
Drawing Preset Figures
Suppose you want to draw a circle. If you attempt to draw it in the same way as you drew the square, then it would be extremely tedious, and you’d have to spend a lot of time just for that one shape. Thankfully, the Python turtle library provides a solution for this. You can use a single command to draw a circle:
>>> t.circle(60)
You’ll get an output like this:

The number within the brackets is the radius of the circle. You can increase or decrease the size of the circle by changing the value of its radius.
In the same way, you can also draw a dot, which is nothing but a filled-in circle. Type in this command:
>>> t.dot(20)
You’ll get a filled-in circle like this:

The number within the brackets is the diameter of the dot. Just like with the circle, you can increase or decrease the size of the dot by changing the value of its diameter.
Great job so far! You’ve learned how to move the turtle around and create different shapes with it. In the next few sections, you’ll see how you can customize your turtle and its environment, based on your requirements.
Changing the Screen Color
By default, turtle always opens up a screen with a white background. However, you can change the color of the screen at any time using the following command:
>>> turtle.bgcolor("blue")
You can replace "blue" with any other color. Try "green" or "red". You’ll get a result like this:

You can use a variety of colors for your screen just by typing in their hex code number. To learn more about using different colors, check out the Python turtle library documentation.
Changing the Screen Title
Sometimes, you may want to change the title of your screen. You can make it more personal, like "My Turtle Program", or more suitable to what you’re working on, like "Drawing Shapes With Turtle". You can change the title of your screen with the help of this command:
>>> turtle.title("My Turtle Program")
Your title bar will now display this:

In this way, you can change the heading of your screen according to your preference.
Changing the Turtle Size
You can increase or decrease the size of the onscreen turtle to make it bigger or smaller. This changes only the size of the shape without affecting the output of the pen as it draws on the screen. Try typing in the following commands:
>>> t.shapesize(1,5,10)
>>> t.shapesize(10,5,1)
>>> t.shapesize(1,10,5)
>>> t.shapesize(10,1,5)
Your outputs will look like this:

The numbers given are the parameters for the size of the turtle:
- Stretch length
- Stretch width
- Outline width
You can change these according to your preference. In the example given above, you can see a visible difference in the appearance of the turtle. For more information on how you can change the size of the turtle, check out the Python