Have you ever worked on a Python project that stopped working after you made a change here or a PEP-8 cleanup there, and you weren’t quite sure how to get it back? Version control systems can help you solve that problem and other related ones. Git is one of the most popular version control systems today.
In this tutorial, I’ll walk you through what Git is, how to use it for your personal projects, and how to use it in conjunction with GitHub to work with other people on larger projects. We’ll look at how to create a repo, how to add both new and modified files, and how to navigate through your project’s history so you can “get back” to when your project was working.
This article assumes you already have Git installed on your system. If you don’t, the excellent Pro Git book has a section on how to do that.
What Is Git?
Git is a distributed version control system (DVCS). Let’s break that down a bit and look at what it means.
Version Control
A version control system (VCS) is a set of tools that track the history of a set of files. This means that you can tell your VCS (Git, in our case) to save the state of your files at any point. Then, you may continue to edit the files and store that state as well. Saving the state is similar to creating a backup copy of your working directory. When using Git, we refer to this saving of state as making a commit.
When you make a commit in Git, you add a commit message that explains at a high level what changes you made in this commit. Git can show you the history of all of the commits and their commit messages. This provides a useful history of what work you have done and can really help pinpoint when a bug crept into the system.
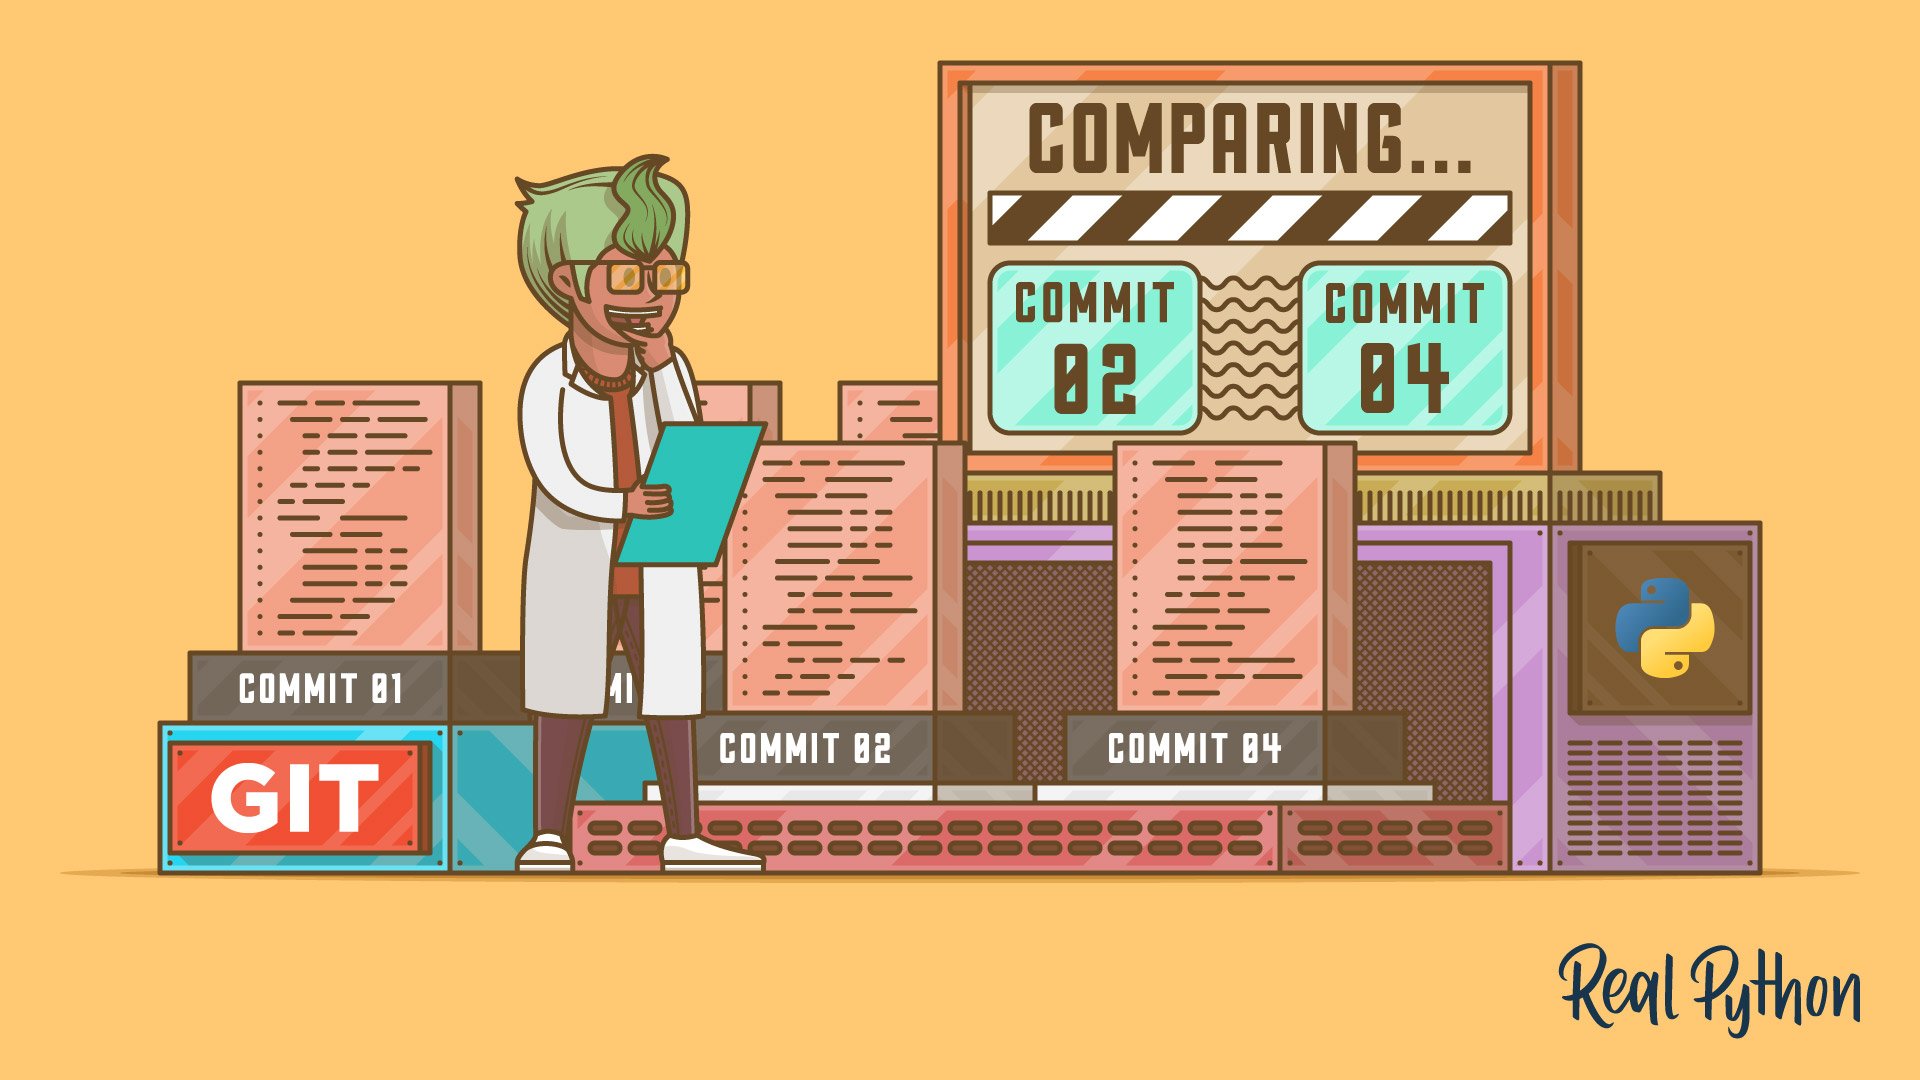
In addition to showing you the log of changes you’ve made, Git also allows you to compare files between different commits. As I mentioned earlier, Git will also allow you to return any file (or all files) to an earlier commit with little effort.
Distributed Version Control
OK, so that’s a version control system. What’s the distributed part? It’s probably easiest to answer that question by starting with a little history. Early version control systems worked by storing all of those commits locally on your hard drive. This collection of commits is called a repository. This solved the “I need to get back to where I was” problem but didn’t scale well for a team working on the same codebase.
As larger groups started working (and networking became more common), VCSs changed to store the repository on a central server that was shared by many developers. While this solved many problems, it also created new ones, like file locking.
Following the lead of a few other products, Git broke with that model. Git does not have a central server that has the definitive version of the repository. All users have a full copy of the repository. This means that getting all of the developers back on the same page can sometimes be tricky, but it also means that developers can work offline most of the time, only connecting to other repositories when they need to share their work.
That last paragraph can seem a little confusing at first, because there are a lot of developers who use GitHub as a central repository from which everyone must pull. This is true, but Git doesn’t impose this. It’s just convenient in some circumstances to have a central place to share the code. The full repository is still stored on all local repos even when you use GitHub.
Basic Usage
Now that we’ve talked about what Git is in general, let’s run through an example and see it in action. We’ll start by working with Git just on our local machine. Once we get the hang of that, we’ll add GitHub and explain how you can interact with it.
Creating a New Repo
To work with Git, you first need to tell it who you are. You can set your username with the git config command:
$ git config --global user.name "your name goes here"
Once that is set up, you will need a repo to work in. Creating a repo is simple. Use the git init command in a directory:
$ mkdir example
$ cd example
$ git init
Initialized empty Git repository in /home/jima/tmp/example/.git/
Once you have a repo, you can ask Git about it. The Git command you’ll use most frequently is